Gil Chesbro taught a class on making your own bowsaw at John Wilson's
shop in Michigan over President's day weekend. I wasn't able to attend
the class because of a travel conflict. The next weekend Gil was nice
enough to teach a make-up class for me! I had a great time and learned
a great deal from Gil. Check out his Bowsaw making page by clicking this
link.
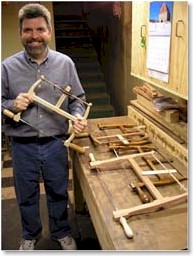
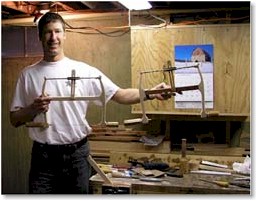
Here he is with some saws that he's made as well as a couple purchased
for use as patterns.
Below are some images from our bowsaw making session in Gil's shop.
Here is a link to Gil's
page about his Bowsaw class at John
Wilson's Home Shop in Michigan.
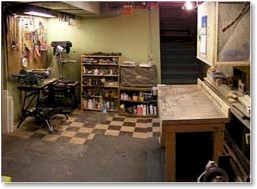
Always worthy of a photograph... A clean workbench! Gil had rearranged his work area so that he could move a bench to this location just so I could have enough headroom! Gil's basement is fine for almost everybody, but my freakishly tall self really appreciated the effort.
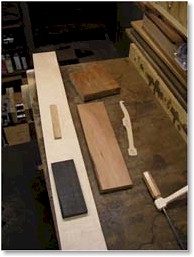
Within minutes we had
selected raw materials for the bowsaw. Some curly maple for the arms,
cherry for the stretcher and handles, birdseye maple for the paddle and
ebony for the paddle housing.
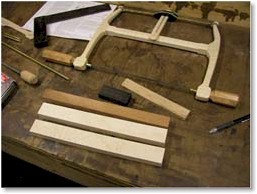
Parts after being cut to their approximate size. We chose brass rod for the blade/handle connection. The rod is cut to length then drilled before being slotted with a hacksaw.
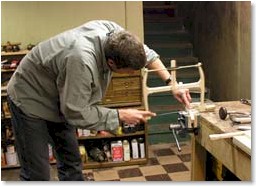
Using one of Gil's bowsaws, I cut out one of the arms. A pattern is used for one arm and then that arm is shaped up to the point at which you would round over the edges. At that point I used the arm I had shaped to draw and outline for the second arm. After cutting just shy of the line, I clamp the two arms together and use rasps to create matching arms. After that, the arms are separated and rounded to their final shape.
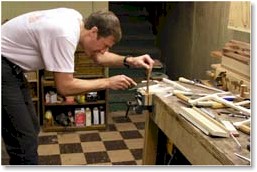 I
used Gil's Disston patternmaker's saw to cut a slot in the paddle. The slot
allows the paddle to slide up and down on a pin within the paddle housing.
I
used Gil's Disston patternmaker's saw to cut a slot in the paddle. The slot
allows the paddle to slide up and down on a pin within the paddle housing.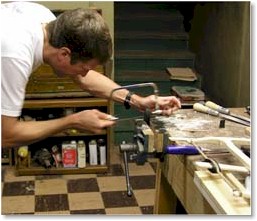
Here I use a coping saw to shape the ebony paddle housing. It's shaped like a football with a slot for the paddle. After the slot is fitted to the paddle, a groove is carved around the housing. The groove allows the waxed cord to hold the housing in place when in use.
 I
used a gouge to carve facets on the inside of my handles.
I
used a gouge to carve facets on the inside of my handles.
One of the best parts of building a bowsaw is the amount of personalization
one can achieve. We had a limited time for this session, so while I did
the shaping of the arms, stretcher and mortising for the joints, Gil was
busy shaping the handles, and preparing hardware.
With Gil's help, the job took about 4 1/2 hours. When finished, it was
ready to use and looking good. I think I can refine a few things on this
saw, but for my first attempt, I think it came out great. I'm looking
forward to designing and building many more saws.
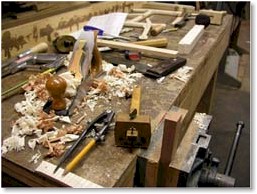
Remember that clean bench? Here are some of the tools used to make this bowsaw: hacksaw (to cut brass rod ) small combination square, folding rule
marking knife, patternmaker's saw, mortise gauge, slitting gauge, 3/8, 1/4, and ½ inch chisels, large gouge for the handles, mallet, 5/16 brad point drill bit, brace ( to hold bit) smooth plane (#4 or #3) coping saw and bowsaw, mill file, small triangular file, #49 and #50 Nicholson rasps, round rasp (3/8 inch diameter)
After 4 1/2 hours the finished bowsaw.
Mine is the one in my left hand.
All images and text ©WJG2003-2006 reproduction in any form prohibited without permission.